One of my favorite things to do is throwing themed (perhaps a bit over the top) parties for my friends and family. If I throw a party for you, it basically means I think you are pretty terrific as (almost) any amount of money would not begin to cover the time and thought that I put into these events.
My son has been the recipient of multiple themed parties and it kind of takes everything I have to reign myself in even when I'm hosting a themed playdate (which we do at our home once every other month or so.) For his second birthday, I choose Mickey Mouse and Friends as his party theme. We were planning our first trip to Disney World just a few weeks before his birthday and I figured I'd ride the Disney excitement wave as long as possible. Plus, as I later discovered, you only get so many years of choosing a birthday party theme before your child grows wise and opinionated (but that is another story entirely!)
I started with a theme and then did what every modern mommy does... I headed to Pinterest. From there I was able to pick and choose ideas that I thought would best fit my vision of a Mickey Mouse and Friends Party. Here are the results:
 |
First up, the CAKE! This was my first time ever working with fondant and I was pretty pleased with the results. I used a recipe for marshmallow fondant so not only did it look pretty, it tasted good too! While at Disney World, I picked up a pack of cookie cutters that included the mouse ears shape and the star, so it made cutting the fondant and decorating the cake super easy. As a note, I would not attempt making this fondant recipe without a Kitchen Aid standing mixer (or other such heavy duty mixer.) The fondant is super thick and the amount of mixing involved is pretty intense. Unless you have mega arm and hand strength, I do not recommend doing it by hand! Also in this photo, you can see the few cupcakes I made just in case the cake was a disaster and I was forced to scrap the whole thing. Luckily, that didn't happen, but it was good to have a contingent plan just in case as I was dealing with unknown baking territory.
|
 |
| Next up, the FAVORS! Simple (and inexpensive) toys made up this cute tiered display. Guests were invited to pick their own favors and make their own treat bag. To follow the theme, I choose items that were brightly colored including bubbles ($1 for a pack of 3 at the Dollar Tree), yo-yos (ordered from Oriental Trading), flying disks (ordered from Oriental Trading), and play dough ($1 for a pack of 3 at the Dollar Tree.) I dressed them up with printable labels from Amanda's Parties To Go. |
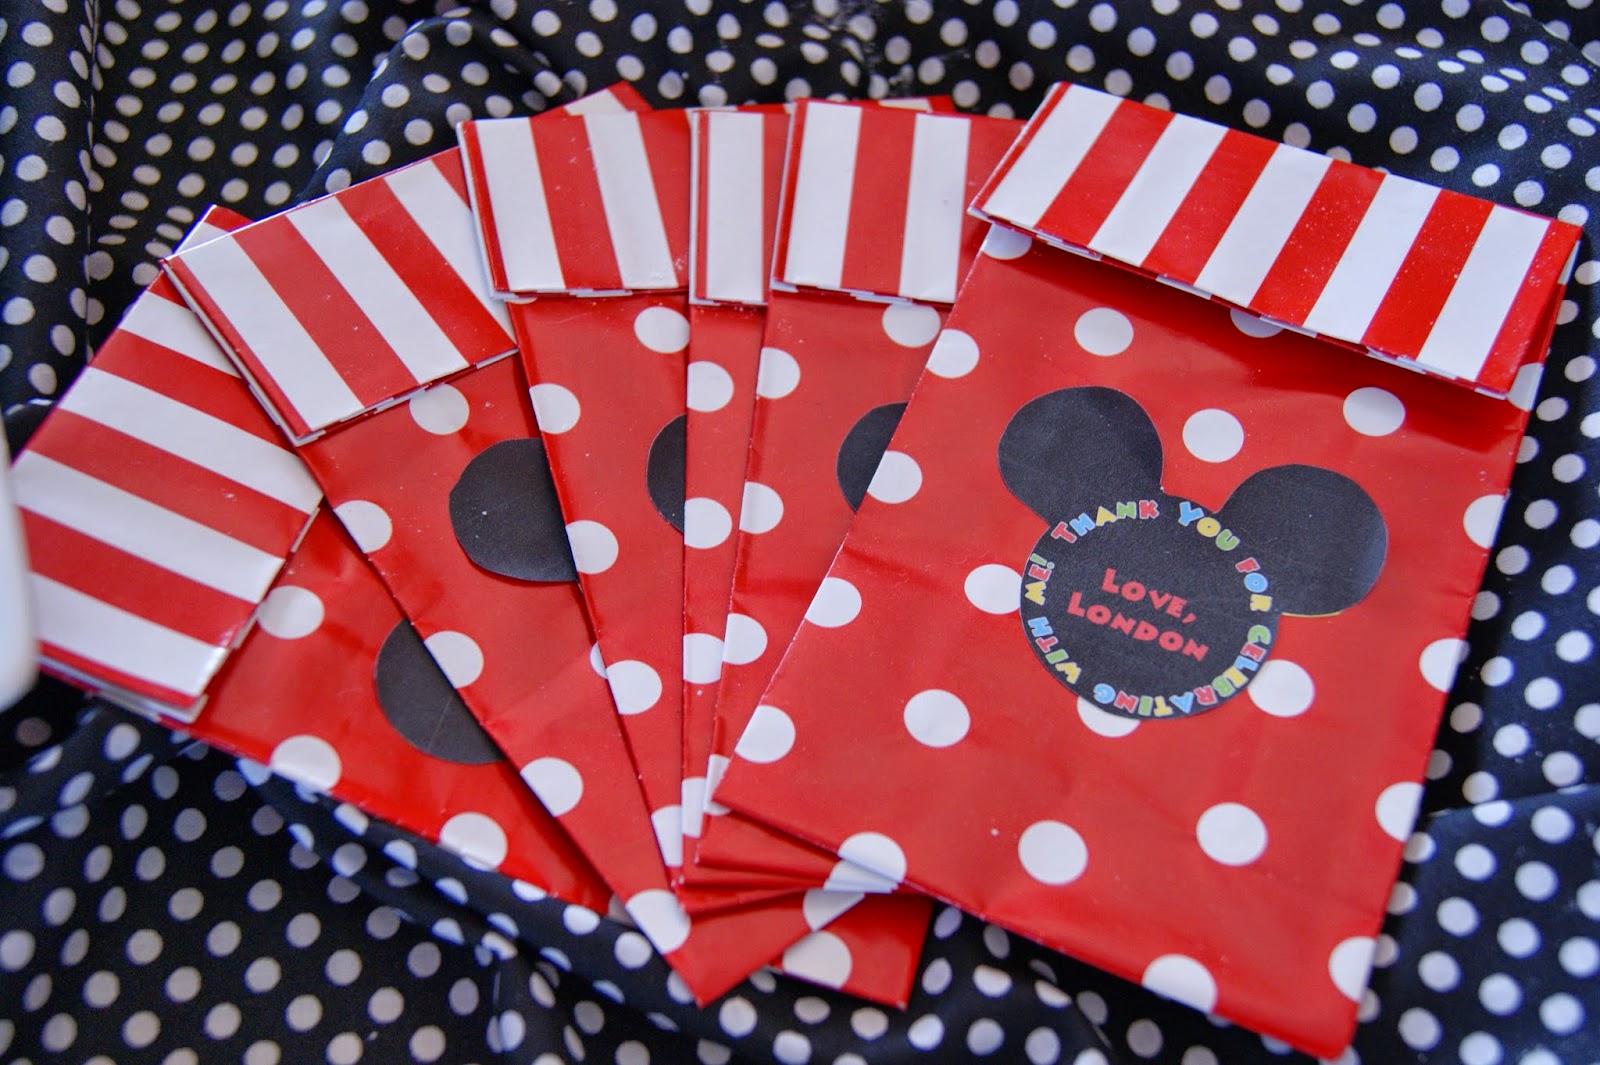 |
| I added these personalized Mickey ears stickers to the front of some fun red polka dot and stripe paper bags (ordered from Oriental Trading.) These bags were placed in the favor area for guests to take home their treats. |
 |
| I always try to incorporate a few balloons into each party because really, who doesn't love balloons? I was able to find these perfect red polka dot balloons and paired them with plain matte black balloons to represent Mickey Mouse. |
 |
To create this adorable "partyscape" centerpiece, I used the printable files from Amanda's Parties To Go. I hot glued simple wooden kabob skewers on the back of each cutout and then cut them to various heights so they'd make a dynamic arrangement. I purchased a simple rectangular square vase (which has found it's way back into every party design since.) I hot glued a yellow broad ribbon around the center of the vase and then topped it with a red polka dot ribbon on top, To cover the ribbon ends and to make it even cuter, I glued yet another adorable printable, this one of a number "2" that looked like Mickey Mouse. I filled the vase with M&M candies. They worked great to keep my arrangement in place and they were the perfect party colors. |
I created a second centerpiece for the kitchen table with a few different themed cutouts.
 |
| I liked the M&M candies so much, that I ran out an bought a few more smaller square shaped vases to decorate and add to the "partyscape." |
 |
Hershey Kisses got a makeover with tiny printable stickers placed on the bottom of each kiss.
Hershey's miniatures were personalized with wrappers that matched the Mickey and Friends theme. This was quite a bit of prep since I had to cut out each little label and tape it tightly around each chocolate bar, but it is all in the details, right?
I have a really cute set of Mickey Mouse themed dishes that my mother gifted me years ago and they worked really well to serve food for the party. This mug worked perfectly to hold the lollipops adorned with themed printable stickers. |
 |
Aside from all of the candy, we did in fact serve lunch. We had simple BBQ pork (cooked in our handy-dandy crock pot) sandwiches, potato chips, potato salad, and fruit. I used this red caddy that I had among my classroom items to hold plates, napkins, and plastic ware. The bowl, I picked up at Target for $14.99. I also purchased a few smaller condiment bowls at Target that matched the larger bowl for $5.99 each, but they didn't make it into any of my photos.
|
 |
| The birthday boy had to look the part, so I dressed him in a Mickey thermal shirt and vest set that I found on sale at Sears. The vest was a size 2T-3T and he got SO much wear out of it. He also wore his Mouse Ears that we bought on out trip to Disney World. |
 |
| I hand painted wooden letters (purchased at Hobby Lobby) that spelled London's name and to make them look like Mickey and Friends characters. The extra little details that are glued on (Minnie and Daisy's bows, Donald and Goofy's hats) were created using the Mickey and Friends Cricut cartridge. I added a matching "Happy Birthday" banner and sat some plush Disney friends on the mantle to bookend the letters. |
 |
| We have a picture that hangs over our entry table that didn't go with the birthday theme at all, so I temporarily covered it with wrapping paper that matched. The entry table became a great place for guests to drop off gifts for the birthday boy. |
 |
I showed old Mickey Cartoons from the 1920's-1940's on the television in the living room on a loop. A word of caution: Mickey does some pretty questionable things in these early shorts including smoking, and dressing up in what appears to be black face. I had no idea! Nevertheless, it gave the adults some entertainment to pick out these moments while the kiddos played obliviously. Walt Disney Treasures - Mickey Mouse in Black and White
Here is a final look at the main partyscape area so you can get an idea of how it all came together. |


